 |
 |
Introduction
We are sure that many readers will recognize the photo to the right, or at least one similar to it. What we have here
 is a clever joining of two ceramic charcoal smokers in an effort to do cold smoking. This clever owner has taken a mini Big Green Egg and
connected it to a large Big Green Egg with a piece of metal dryer hose and some duct tape. A small amount of charcoal burns in the small cooker, heating wood chunks to produce smoke that travels through the hose into the large cooker where items such as cheese or salmon gets cold smoked.
Unfortunately, not everyone has a second smaller ceramic cooker and if you have priced a mini Big Green Egg lately, they are in the neighborhood of $300. Quite a pretty penny for a cold smoke generator! So we thought we'd try to come up with something a bit less expensive.
We were sauntering around our local Ace Hardware (something we are often wont to do) and noticed some empty gallon paint cans for sale. They looked like a convenient size for a smoke generator. A visit to Lowe's and after the expenditure of the grand sum of $15.68, we headed back to the shop to see what we could put together. This is what we came up with.
Materials List
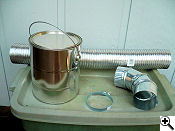
The major components of the paint can smoker. |
The first step is to make the hole in the lid of the paint can. As you can see below, you trace the outline of the elbow on the lid, draw two lines across the circle to find the center of the circle, and then take a metal punch and hammer to make a dent in the lid. This will help you locate and start the drill bit of the hole saw in the next step.
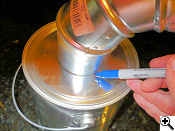
Trace the outline of the elbow. |
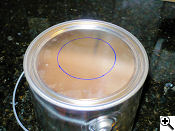
This will be the size of the opening. |
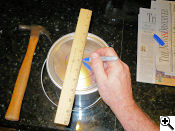
Draw two perpendicular lines across the circle to find the center. |
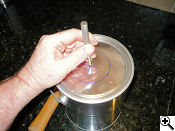
Use a metal punch to make a dent in the center of the circle. |
Next, use a hole saw to make a 2-1/8" hole in the lid, centered on the mark you made. We happen to have a drill press which made this bit easy, but you could use a power drill to do this.
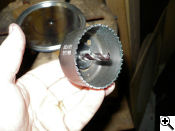
A 2-1/8" hole saw. |
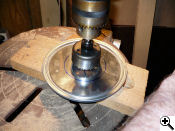
Cutting the hole in the lid. |
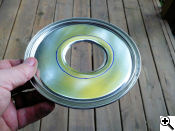
The resulting hole. |
Using a pair of tin snips or sheet metal cutters, cut from the edge of the hole to the line you marked earlier. Make a cut about every 1/3" or so. Go all the way around making these cuts. Then, take a pair of pliers and bend the resulting tabs down, so that they will stick down into the paint can.
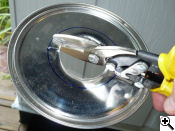
Cutting the tabs around the edge of the hole. |
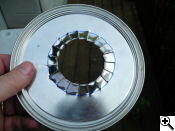
The resulting tabs. |
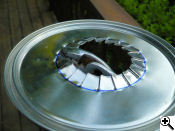
Use pliers to bend the tabs down into the can. |
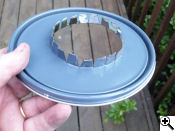
The finished result. |
If you have done your job well, the elbow should now press down into the hole with a relatively snug fit. If not, go buy another paint can and start over. Use two C-clamps to hold the elbow in place so that you can drill a small hole through one of the tabs and through the elbow. Then screw a small sheet metal screw to hold the elbow to the lid. Do this at four evenly-spaced locations around the hole.
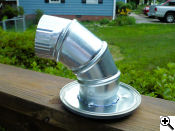
It fits! |
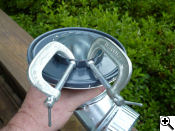
C-clamps hold things in place... |
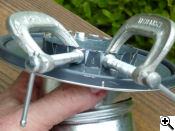
...so we can drill a hole through a tab and the elbow. |
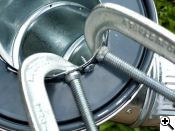
Now a sheet metal screw holds things together. |
Once you have the elbow firmly attached to the lid, run a bead of silicone around the joint between the elbow and the lid, and let dry.
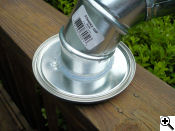
A bead of silicone makes things airtight. |
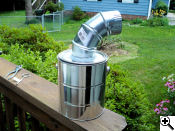
The smoke generator starts to take shape! |
You can make a little "charcoal grid" out of the hardware cloth. The opening on the paint can is 5-1/2" so take your marker and mark a circle on the hardware cloth that matches the opening. Then use the tin snips to cut the corners out so that you have four tabs that you can bend down for legs. The legs should be about 1 inch high.
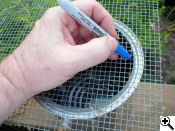
Marking a circle on the hardware cloth. |
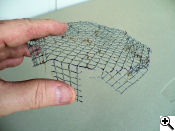
Cut out the corners so you have legs to bend down. |
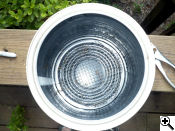
The "charcoal grid" in the paint can. |
Now to make some "legs" for the paint can. Drill three 5/16" holes equally-spaced around the edge of the floor of the can. Then push the 1" x 5/16" bolts through from the inside, add a lock washer and then use wrenches to tighten the nuts onto the bolts.
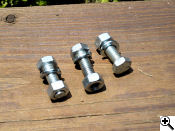
Bolts, nuts and lock washers. |
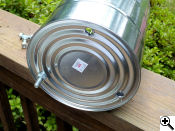
Drill three holes, insert the bolts, add washers and nuts and then tighten. |
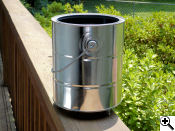
The can now sits off the deck. |
Next, we need to make some holes to let air into the paint can to support combustion. Drill six 7/32" holes around the bottom edge of the side of the paint can. Then take a bastard file and smooth off the sharp edges.
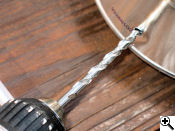
Drilling the air holes. |
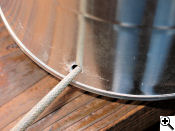
Using a bastard file to smooth the rough edges. |
Finally, all that's left to be done is to place the clamp over the elbow and the end of the duct hose over the elbow. Slide the clamp over the end of the duct and tighten. You're almost ready to start cold smoking!
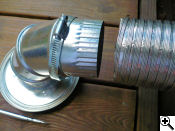
Connecting the duct to the elbow. |
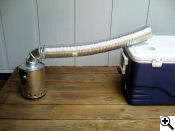
Your completed cold smoker. |
Using Your Paint Can Cold Smoker
To use your cold smoker, first bend the open end of the duct hose to match the opening of your cooker. In the first photo below you can see how we molded it into the shape necessary to get it to go into the bottom vent of a large Big Green Egg ceramic cooker.
To start making smoke, we like to use briquettes since they burn evenly and slowly. Start 5 or 6 briquettes in a chimney starter or with a torch. When they are ashed over and really burning, then place them in the can on the charcoal grate. Add some smoking wood and place the lid on the can.
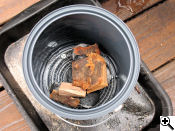
Place wood chunks on burning briquettes and the smoke will start. |
How The Paint Can Smoker Performs
We let the paint can smoker generate smoke for about 2 hours. As you can see in the following graph, the temperature of the cooker only rose about 5° during that time.
 Note: The yellow line indicates the temperature inside the cooker. The red line indicates the outside ambient temperature. |
After two hours, the ash was building up on the briquettes and the heat and smoke were dropping. You can simply carefully open the can, knock the ash off the briquettes and then rearrange things. You can always add more briquettes and/or more smoking chunks as necessary.
Note that you may want/need to drill two or three more 7/32" holes to let air in if you find that your briquettes aren't staying hot enough throughout the smoking session. Don't overdo it, however, as too many holes can allow the fire in the can to get hot enough to ignite your smoking chunks.
Warnings and Disclaimers
You can support this website by shopping at The Naked Whiz Website Store and Amazon.com
|