 |
 |
The ECPin and Stake Apps
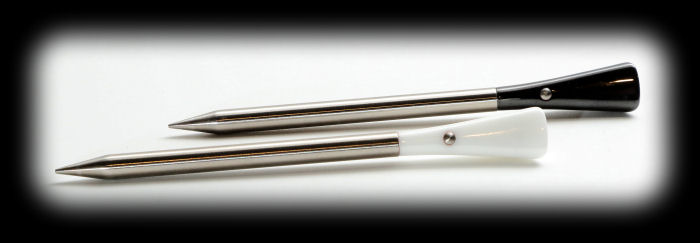
The ECPin and Stake probes each come with their own app for iOS and Android. We'll let you in on a little
secret. Either probe will connect with either app. As you will see, the apps are slightly different and the
ECPin app has a few more features, so you should download both and give each a try.
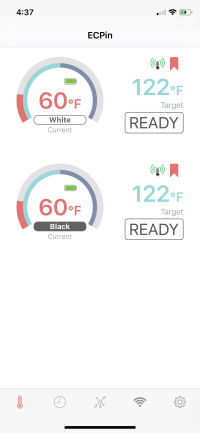 |
For the ECPin display you see the radio beacon that is illuminated when there is a Bluetooth connection and dimmed when there is not. There is also the "Favorite" icon. You can tap this to turn on or off the designation that this probe is a favorite. Favorite probes are listed at the top of the screen. Then, for both apps, on the left you also see the target temperature and the probe's status. Finally, across the bottom you see the icons that you can tap (from left to right) to return to the home screen, view previous cooks, take a photo, set up WiFi or Hot Spot mode (ECPin only) and go to the settings screen. |
 |
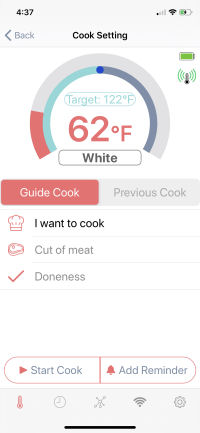 |
Beneath the arc are two tabs. The "Guide Cook" tab allows you to display/set up the current cook. The "Previous Cook" tab shows you a list of previous cooks. Beneath the "Guide Cook" tab are three buttons where you can set up a cook by selecting the type of meat, the cut of meat, and the level of doneness. Finally, near the bottom of the screen are two buttons. The "Start Cook" button starts the cook and a timer that shows elapsed time. This primes the app to notify you when the meat temperature hits the target. The "Add Reminder" button allows you to set an alarm for a particular time or temperature. |
 |
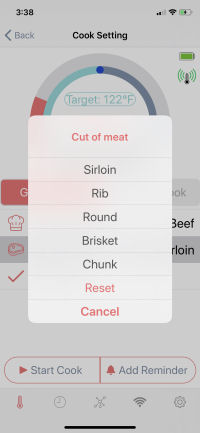
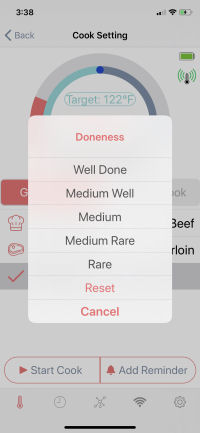
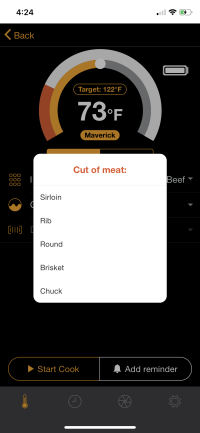
These next screens show you your options in the two apps for setting up a cook. These menus appear when you select the "I want to cook", "Cut of meat" and "Doneness" buttons:
 |
 |
 |
 |
 |
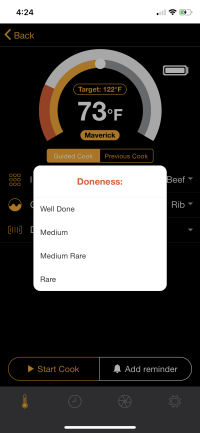 |
As you can see, the ECPin app has more choices than the Maverick app.
 |


|
 |
 |
|
 |
 |
|
 |
 |
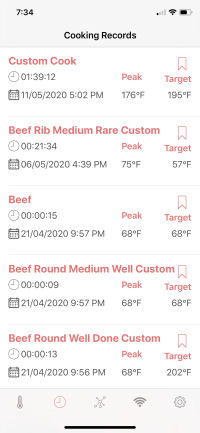
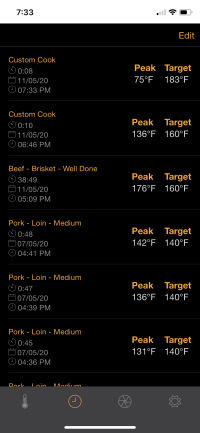
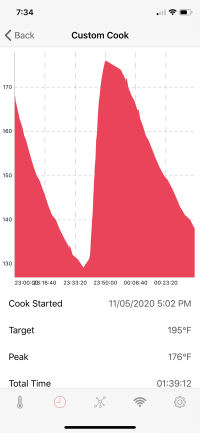
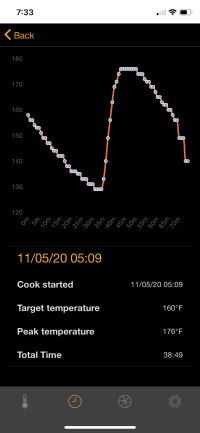
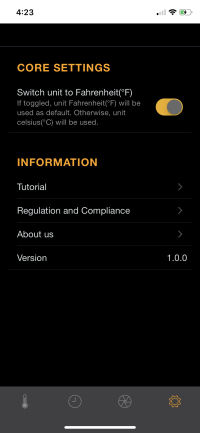
The ECPin app also allows you to import and export records, something which we have not explored. The Stake app does not have this feature. Finally, both apps have a tutorial which is a set of screens you can scroll through to see how to use the probe and the app. They both also have information about Regulation and Compliance, About Us, and the app version. |
 |
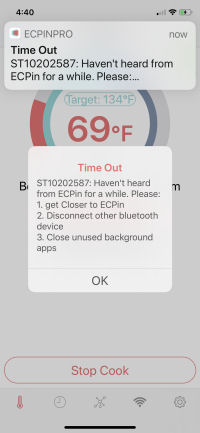 |
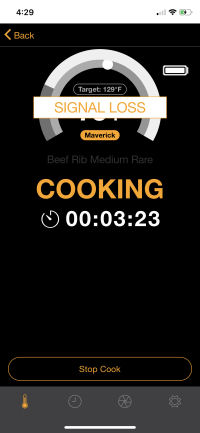
If the ECPin app loses the Bluetooth connection with the probe, you will get an alert, and the app will display the Time Out pop up. If the Stake app loses the connection, it will display the "Signal Loss" indicator over the top of the temperature arc. |
 |
Cooking With The Probes
We used the Stake probe to cook a pork loin tail in order to show you what the app looks
like at various stages of the cooking process:
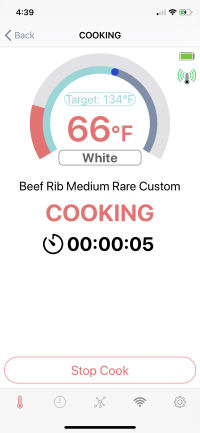
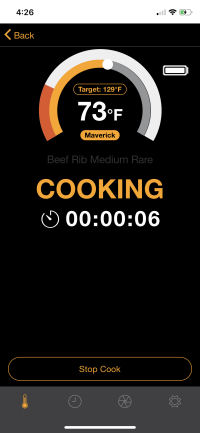
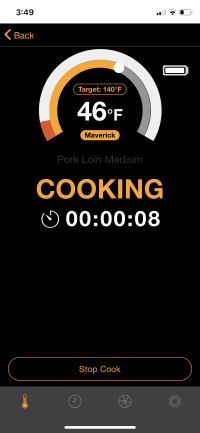 When you press the "Start Cook" button, you are presented with the Cooking screen. It is terribly difficult to see in the Stake app, but right above the work "Cooking" it says "Pork Loin Medium" which are the three selections we made to start the cook. You now also have an elapsed time displayed. |
 If during the cook you go back to the home screen, this is what it looks like. Amazingly, on this screen, you can actually read the words "Pork Loin Medium". |
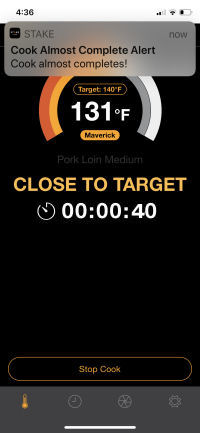 When the temperature of the meat gets close to your target (in our case, the app chose 140°F), you will get an alert as well as the words "Close To Target" displayed. (We switched over to the ECPin app at this point, and didn't get an alert. This is being addressed in the next version of the app, available soon.) |
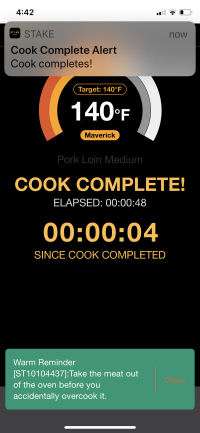 Finally, once the meat reaches the target temperature, you recieve an alert and the words "Cook Complete!" displayed. Also note that the elapsed time clock turns into the time elapsed since the cook completed. That green box at the bottom of the screen warning you not to overcook the meat also appears. (Incidentally, even though the app knows that the probe is named "Maverick", it used the probe's id instead of its chosen name. |
And finally, we thought you would like to see a few photos of the cook process:
So, how did the Stake probe do at getting the meat cooked to a medium doneness? After we had rested the pork loin, we took a Thermoworks Thermapen and measured the temperature of the meat where the Stake probe had been. It read 146°F which is about right for having pulled the pork loin at 140°F and letting it rest.
You can support this website by shopping at The Naked Whiz Website Store and Amazon.com
|