WiFi Setup and Operation
Although this part is optional, if you want to be able to monitor the Flame Boss Wifi Thermometer remotely, you can set up its
Wi-Fi functionality in order to use the Flame Boss servers to connect your thermometer to your phone. The first
thing you should do (if you haven't done this already) is to create an account at Flame Boss, which you can do via the App or the web page.
Once you do this, you can then use the App interface on your smart device to connect your thermometer to your local network and the Flame Boss servers.
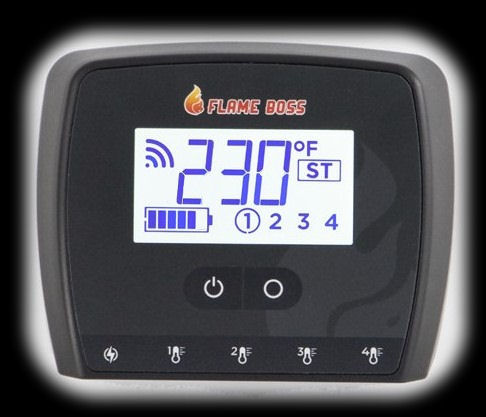
So let's set up a thermometer and get it talking to the Flame Boss servers. When you first turn your Flame Boss WiFi thermometer on,
the screen will look like this:

The flashing "AP" indicates that the unit is in Access Point Mode and has set up a Wi-Fi network that your smart phone will
be able to connect to a little later in this process.
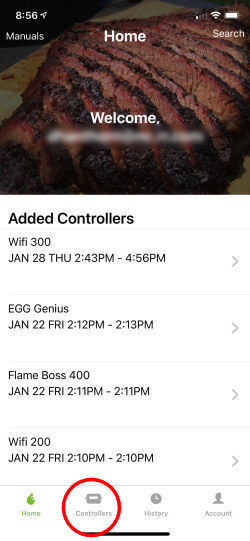
1. First of all start up the Flame Boss App your phone. Either Login or create an account, then you'll see the Home screen. Click on "Controllers": |
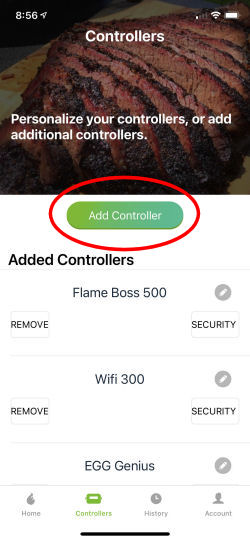
2. From the Controllers screen, click on "Add Controller": |
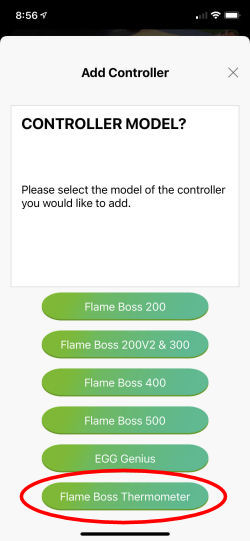
3. Click on the "Flame Boss Thermometer" button: |
 |
 |
 |
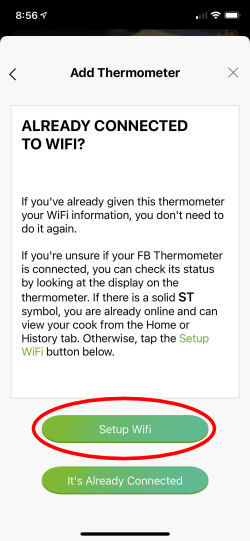
4. Since this is the first time using the thermometer, click on the "Setup Wifi" button: |
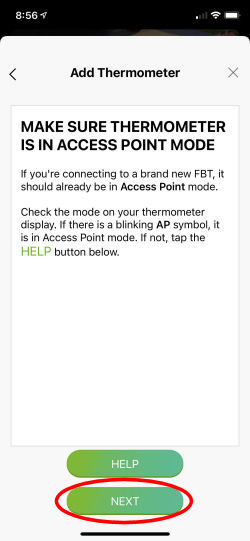
5. Your thermometer should be in Access Point mode, so click on the "Next" button: |
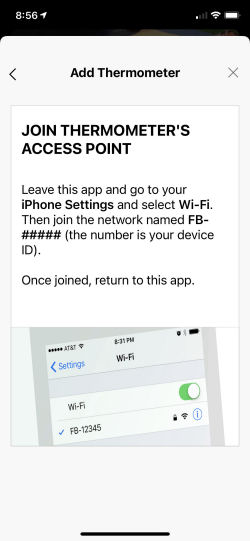
6. Next you are instructed to open your phone's settings, find the Flame Boss network, and join it. Leave the Flame Boss App running: |
 |
 |
 |
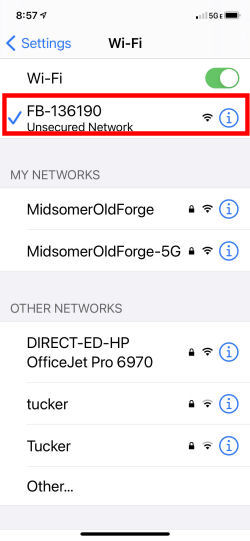
7. In your Settings WiFi section, you will see a new network FB-xxxxx, where xxxxx is a number. Join that network: |
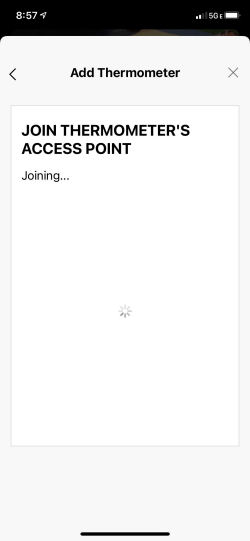
8. Return to the Flame Boss App and you will see it trying to join the Flame Boss thermometer's access point: |
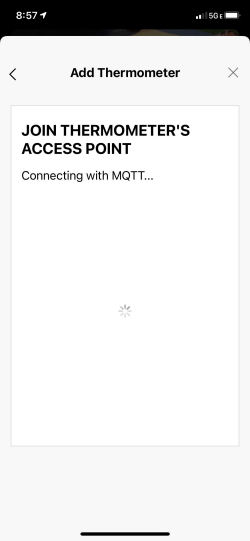
9. You may then briefly see the App trying to connect to the thermometer's MQTT (Message Queuing Telemetry Transport): |
 |
 |
 |
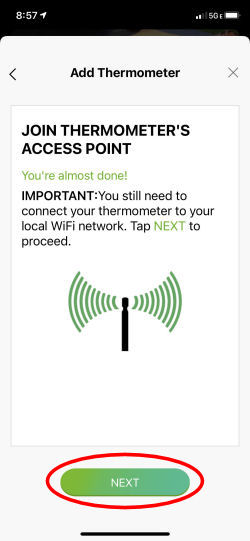
10. Eventually, the App should report that it has successfully joined the thermometer's Access Point. Click on NEXT: |
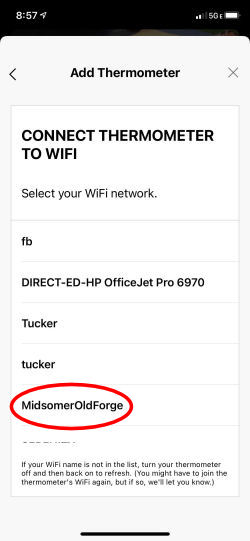
11. Now you need to tell the Flame Boss App the name of your router's network. Select the network you will be connecting to: |
12. Enter the password to connect to your network: |
 |
 |
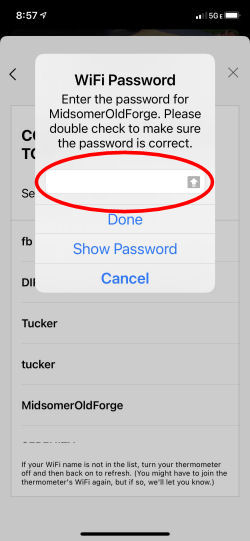 |
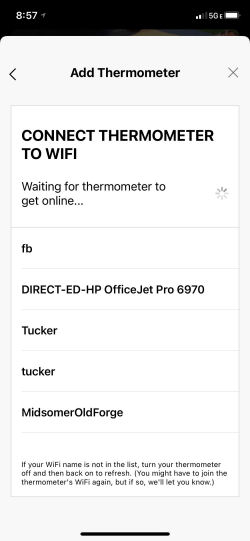
13. You should then see the following screen indicating that the thermometer is connecting to the network and that the App is waiting for it to connect: |
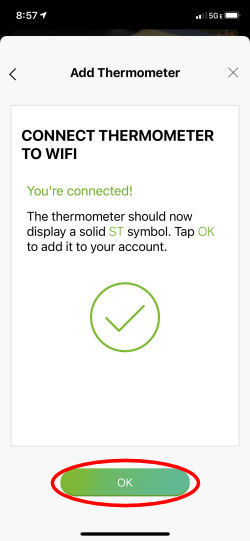
14. The following screen will appear once the thermometer has connected. Click on OK and you are done! |
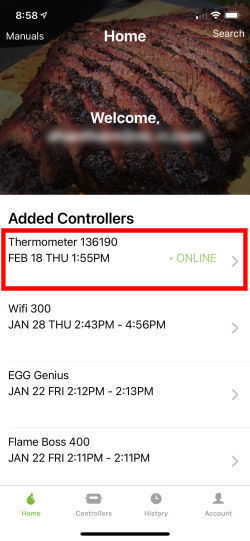
15. You will be returned to the Home screen and your thermometer will now appear. Click on the thermometer's entry so you can now monitor your thermometer from the App! |
 |
 |
 |
|
|
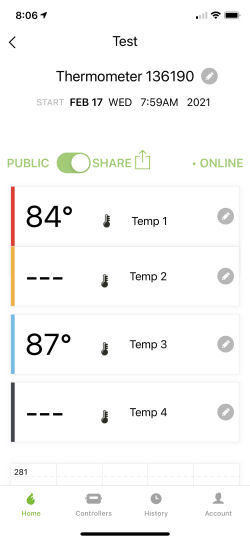
16. You are now at the screen that will show your thermometer's status: |
|
|
|  |
|
Notes on WiFi operation: Here is some further information on using the WiFi function of your Flame Boss Wifi Thermometer.
- Once you reach step 15 above in the process for connecting your thermometer to the network and the Flame Boss servers, your thermometer will check to see
if it needs a firmware update. If so, it will update itself and you will get a notification on your device letting you know that it has completed.
- Once your thermometer is set up, when you power it on, the "ST" indicator on the display will flash quickly showing that it is trying to connect to your network.
Eventually, it should stop blinking and stay on once it has connected. This seems to take about 10 seconds.
- If you should ever find your thermometer displaying the "AP" indicator, that means it is in Access Point mode. This is normal when you first
get your thermometer or if you have reset the thermometer. If you find the thermometer displaying the "AP" indicator for no apparent reason,
you will need to set up Wi-Fi again.
|


